Article Name: Cheap case window mods
Author: Jim Adkins
Date: 8/26/2001
AMD Gigahertz CPU, Geforce2, 512 MB PC133, 30 GB 7200 RPM hard drive. PC dream machine?
Hardly. This is my father-in-law’s machine, and he’s not even a gamer. You heard me correctly. The old rules simply don’t apply anymore. Several years ago, it used to be enough to have the fastest rig on the block, but not now–not when performance has gone mainstream. So what’s a hardcore gamer to do? Case mods. Because being fast isn’t enough anymore; it has to look good, too.
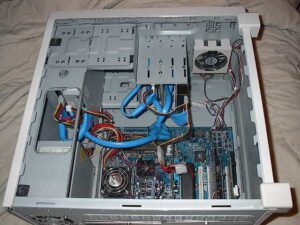
With the introduction finished, I’ve got to tell you I have lusted after a case window for some time. Not a little one, either, with some side etching, but a whole side panel. The problem is I’m too cheap to buy one prefabricated, and the cheapest one I found online was twenty-five dollars plus twenty-dollars shipping. That’s a little pricey for my blood. I would prefer to save my pennies for a Geforce3, but I really wanted that window. It was time to improvise some. So I took out the side panel and carefully measured its width and length and then subtracted an eighth of an inch from each measurement, so it would fit where I wanted it to go–or so I hoped.
Next, I got on the phone and called my local hardware stores. I finally found one that had what I was looking for, so I headed out to Lowes and had them cut a piece of acrylic in their windows and doors department. Next, I headed over a few aisles for some double-sided Velcro tape to mount it to the side of my case. This is where you need to be careful because if the Velcro is too thick, it won’t fit flush with the side of your case, and it looks ridiculous.
Now simply take it home and install it. If you have measured correctly, you will be good to go. Luckily mine was a perfect fit. It must have been an accident or something. The best part is I got it all for under eight dollars, and Lowes even threw in the scrap acrylic after the cut. I am sure I can probably find a use somewhere for it.

